
A custom product configuration is a set of parameters that can be assigned to one or more WooCommerce products that regulate how they work. Assigning a custom product configuration to a normal WooCommerce product turns it into a customizable product.
Here is how to create a custom product:
- Click on CLD > Configurations, to access the list of existing configurations.
- Next, click on New Configuration to have access to the page on which you can create a new configuration.

- Then add a Configuration name.
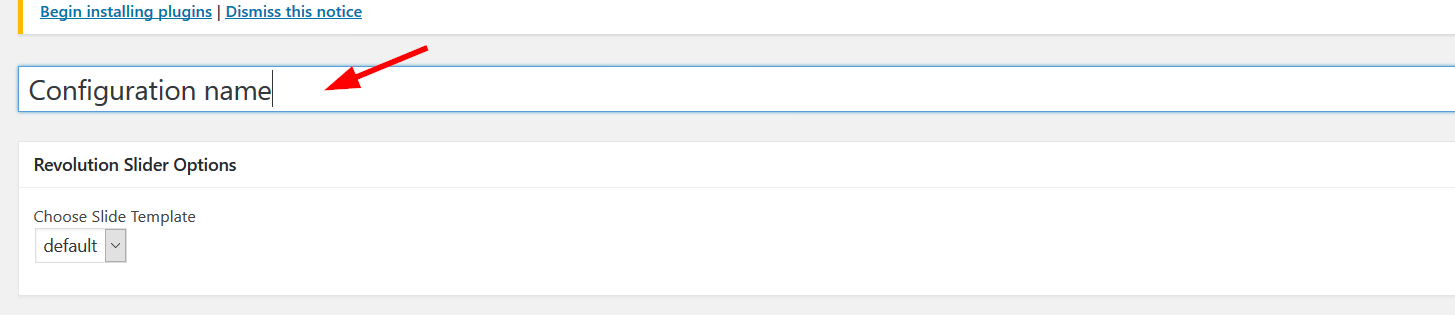
- Choose your skin right here.

- The canvas section allows you to apply a custom canvas size to your product. The canvas can be smaller than the expected output files to fit inside the website pages but it needs to be a scaled version of the expected output.

- Also in the canvas section, we have a lot of helpful options for you :
– Font Size: this option allow you to set the minimum, the maximum, and the default font size that your customers will use in the designer. –Keep Ratio: this option allows you to define whether or not the customer can adjust his design dimensions by keeping the ratio. –Background color selector: This option allow you to choose how your customers will select the background color.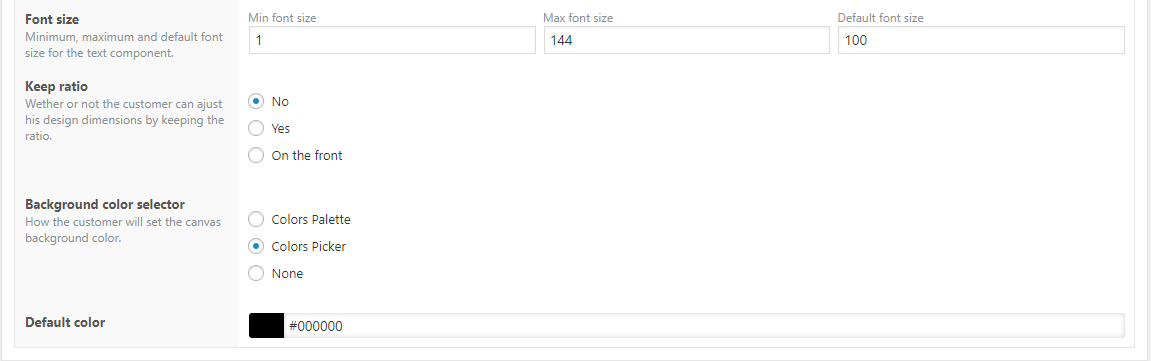
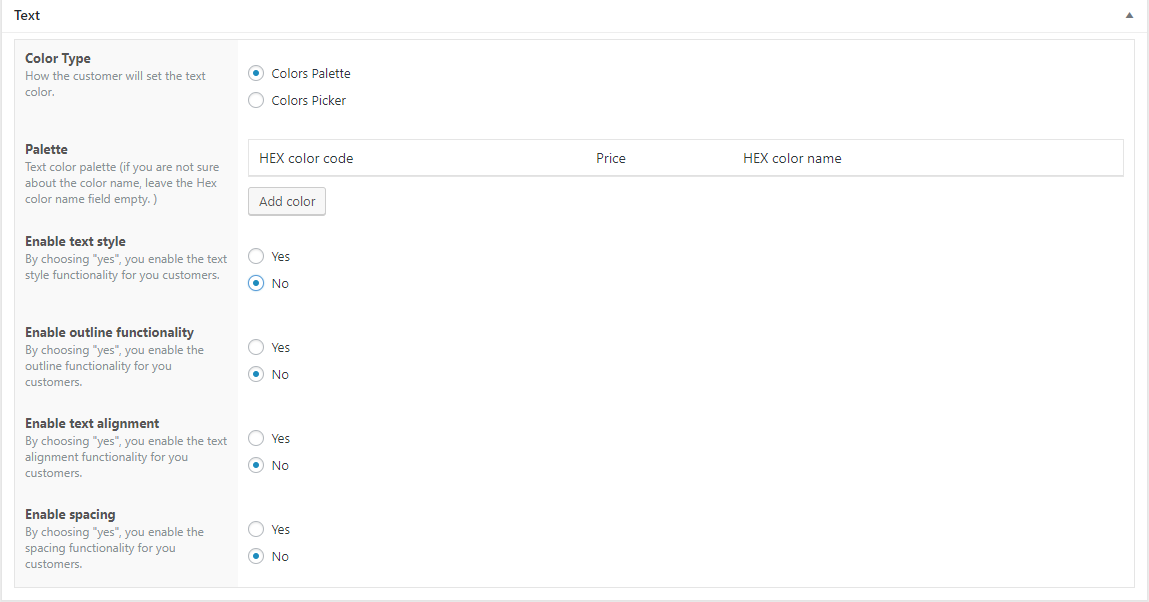
- The Text section gives you a lot of funny options that will allow you to choose how your customers should manage their texts in the designer. –Color Type: This option allow you to choose if your customer will have a color picker or if you want to define a palette of color for him to choose the text color in the designer. –Enable text style: This option allows you to choose whether or not you want to enable the text style functionality for your customers. –Enable outline functionality: This option allows you to choose whether or not you want to enable the outlined functionality for your customers. –Enable text alignment: This option allows you to choose whether or not you want to enable the text alignment functionality for your customers. –Enable spacing: This option allows you to choose whether or not you want to enable the spacing functionality for your customers.
- The Fonts section allows you to choose which fonts will be available for the customers to choose from. When “Use global fonts” is set to “Yes”, all the fonts defined are automatically used to populate the customer’s selection. When choosing “No”, you define the list of fonts that you want your customers to choose from.

- The Pricing rules section enables the admin user to charge any extra for the customization depending on the rules defined. A pricing rule has 5 components: o The rule parameter: allows you to set which condition should be checked. The parameters currently included in the tool are:
- Character square unit (WxH): this calculates the character square value by multiplying its height with its width
- Several characters in text (NB Chars in text): this has to do with the number of alphabets or numeric figures in a text.
- Several lines in the text (NB Lines in text): this has to do with the lines of a text.
- Selected font: this checks the selected font
- if character spacing: this is related to the spacing between characters
o The rule operator: allows you to define the kind of comparison to perform against the rule value. The operators included in the tool are:
- Less than.
- Is less or equal to.
- Equals.
- More than.
- More or equal to.
o The rule value to check against.
o The Price: this allows you to define the price or extra price to add to the product base price if the rule is verified.
o The scope: allows you to set the rule scope. 2 scopes are currently supported:
- Per item: the extra will be added for each design element that matches the rule defined.
- On Whole design: the extra will be added only once even if more than one element matches the rule defined.
Please also note that the administrator can combine simple rules to create a complex one.
Click on the Add rule group to set a whole new group pricing rule.

- Click on the Publish button to save your configuration.
Table of Contents
How to create a custom woocommerce product?
Once you’ve created a configuration as described in the previous section:
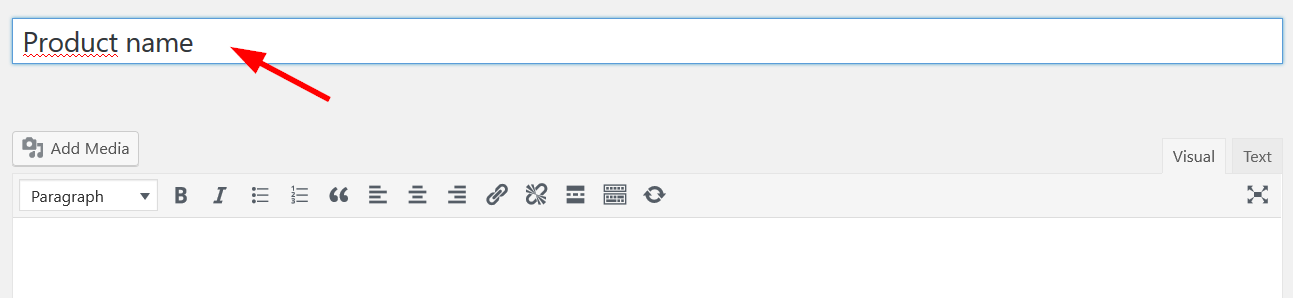
- Click on Products > Add New to access the product creation screen.
- Enter your product name.

- Select the product type (only simple and variable products are supported at this time).
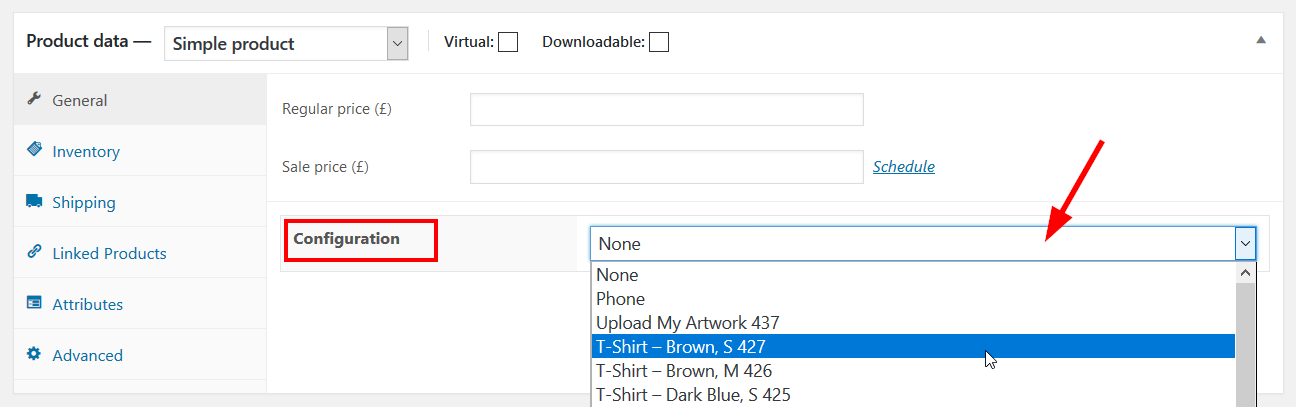
For simple products:
- Enter product price.
- Now select the corresponding configuration previously created.
3. Write a short description of the product.
4. Finally click on Publish button to save your product.
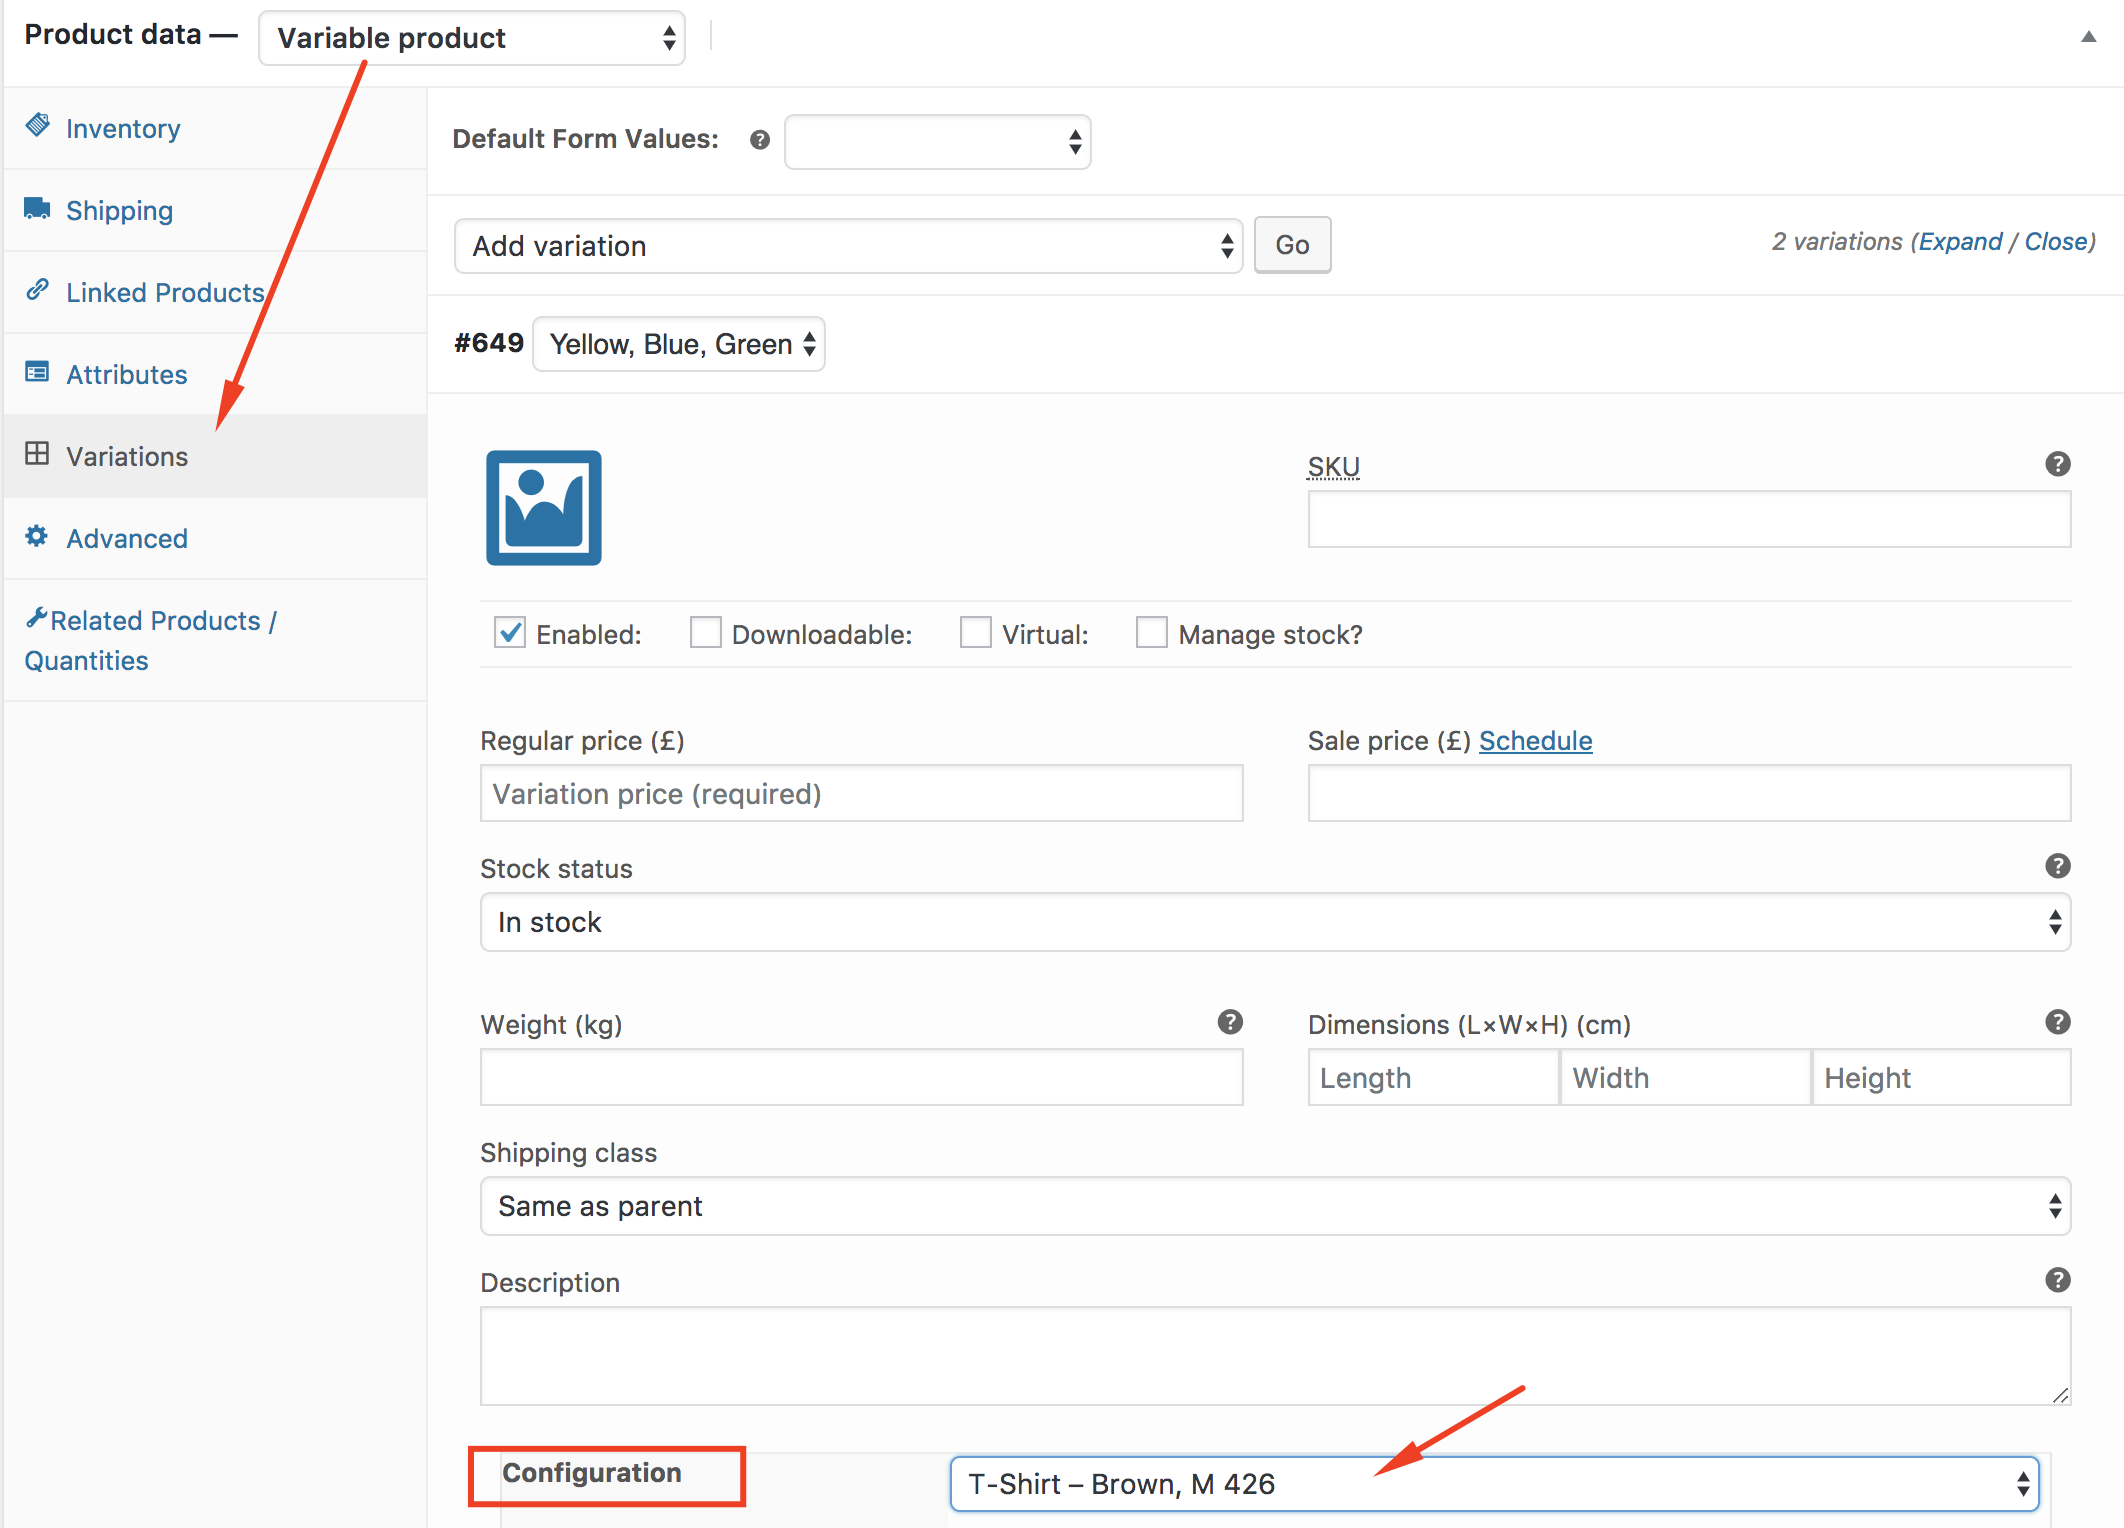
For variable products:
- First of all, select “variable product”.
- Click on the option “variations”.
- Select the variations you want to configure.
- Enter “variation price”.
- Now select the corresponding configuration previously created.
5. Write a short description of the product.
6. Finally click on Publish button to save your product.
How can a customer customize a product?
Once a product has been set as customizable, there are 2 ways for customers to customize it:
- From the shop page (simple products only): a Design from blank button will appear under the Add to cart button. A click on it will lead the user to the editor page with the product data already loaded.
- From the product page: a Design from blank button will appear under the Add to cart button. A click on it will lead the user to the editor page with the product data already loaded. If the product is variable, make sure you select the options before clicking the Design from blank button.
Can I add a configuration to an existing product?
Yes, but the existing WooCommerce product must either be simple or variable. The configuration field appears in existing WooCommerce products as well. You can follow the steps above for either product type, to add the configuration.
Note: This works for WooCommerce-enabled themes. It also works for themes that do not have any reference to WooCommerce. If the theme the customer is using is a WooCommerce compatible theme or a custom theme, and all hooks are properly triggered, then all buttons will appear. If not, then troubleshoot and verify that all hooks are properly triggered in the theme.