

Fonts are one of the most basic features in online product customization and yet one of the most critical ones. Lettering and Signs Designer does not only allow you to use google fonts in your designs but also to add custom TTF fonts which you can use directly on the canvas and in the output PDF files.
The fonts interface allows you to define which fonts you would like your clients to use when adding text to their designs. If you don’t define any font, the system default fonts will be used.
Table of Contents
To manage the fonts, go to LSD > Fonts to access the fonts list.
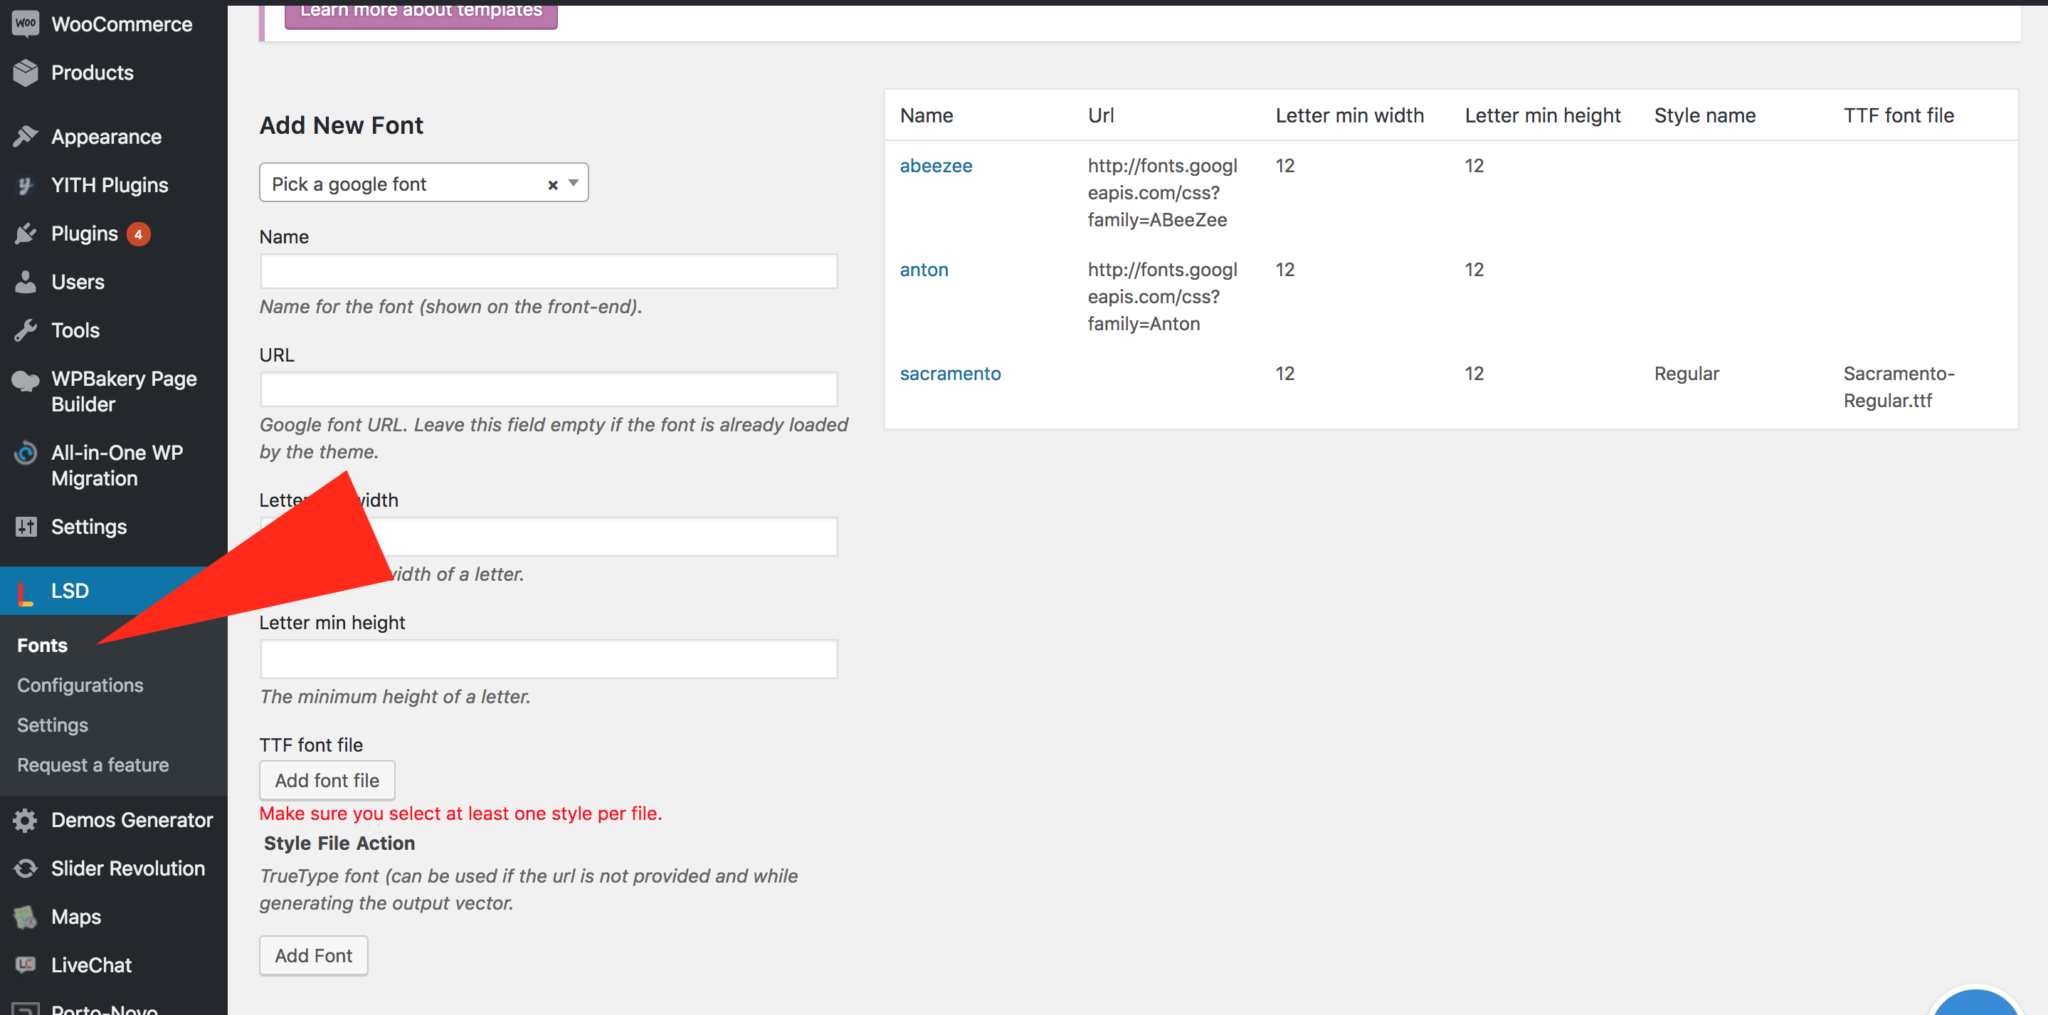
How to add Google Fonts?
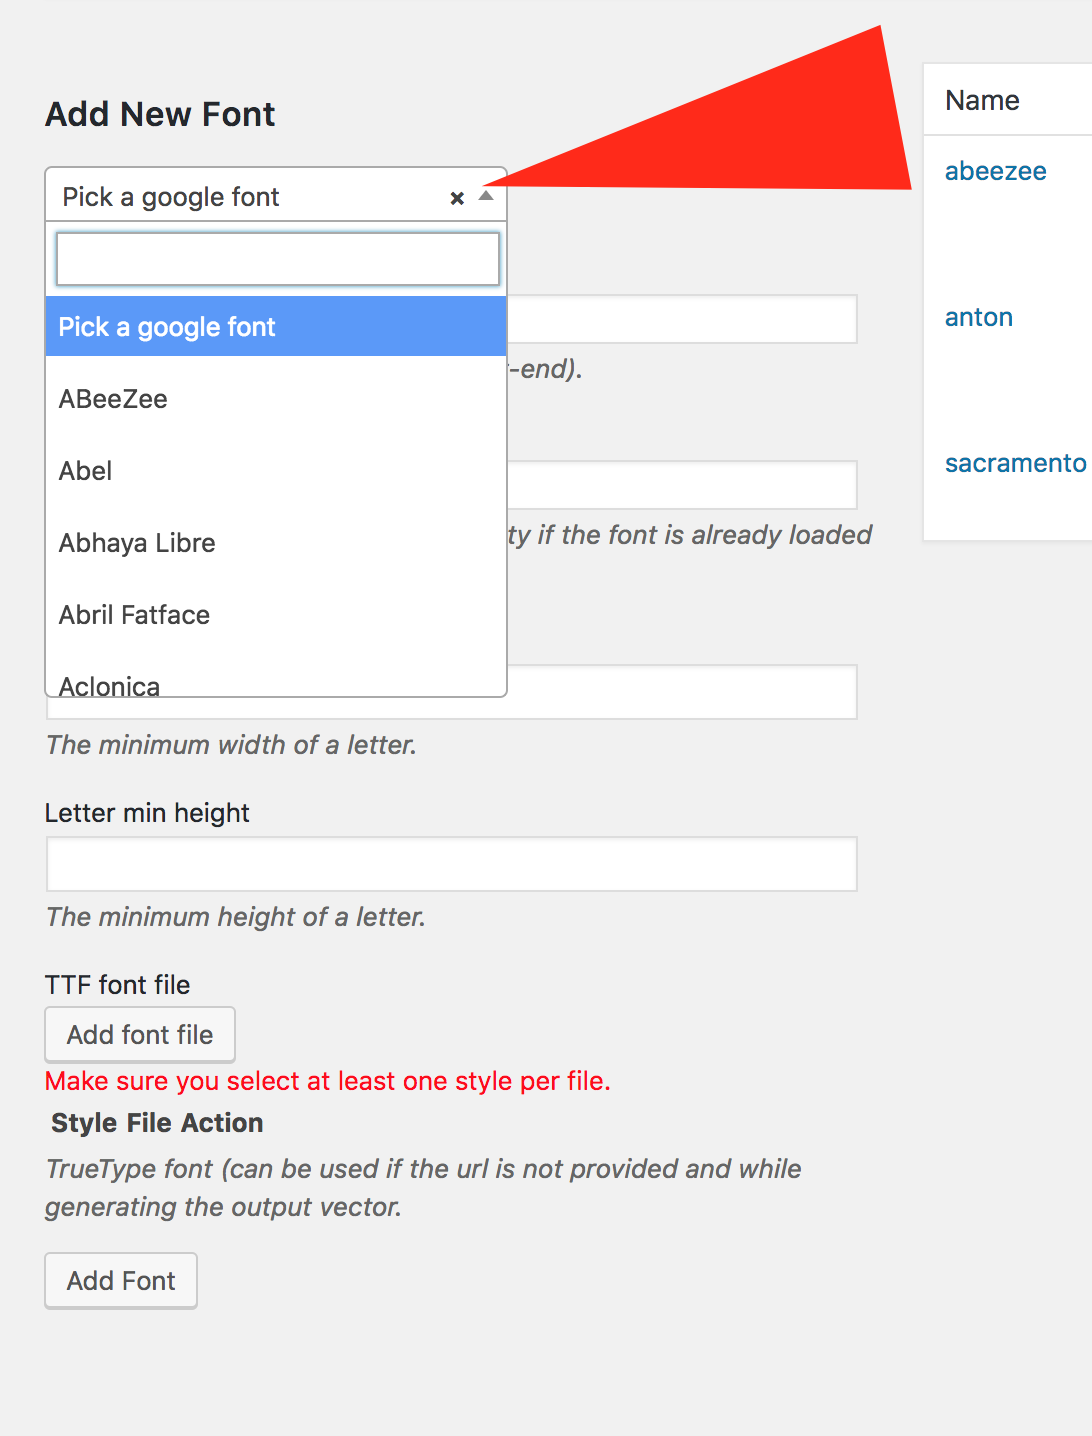
Google Fonts are one of the most popular and free web fonts libraries in the world. To add a Google font:
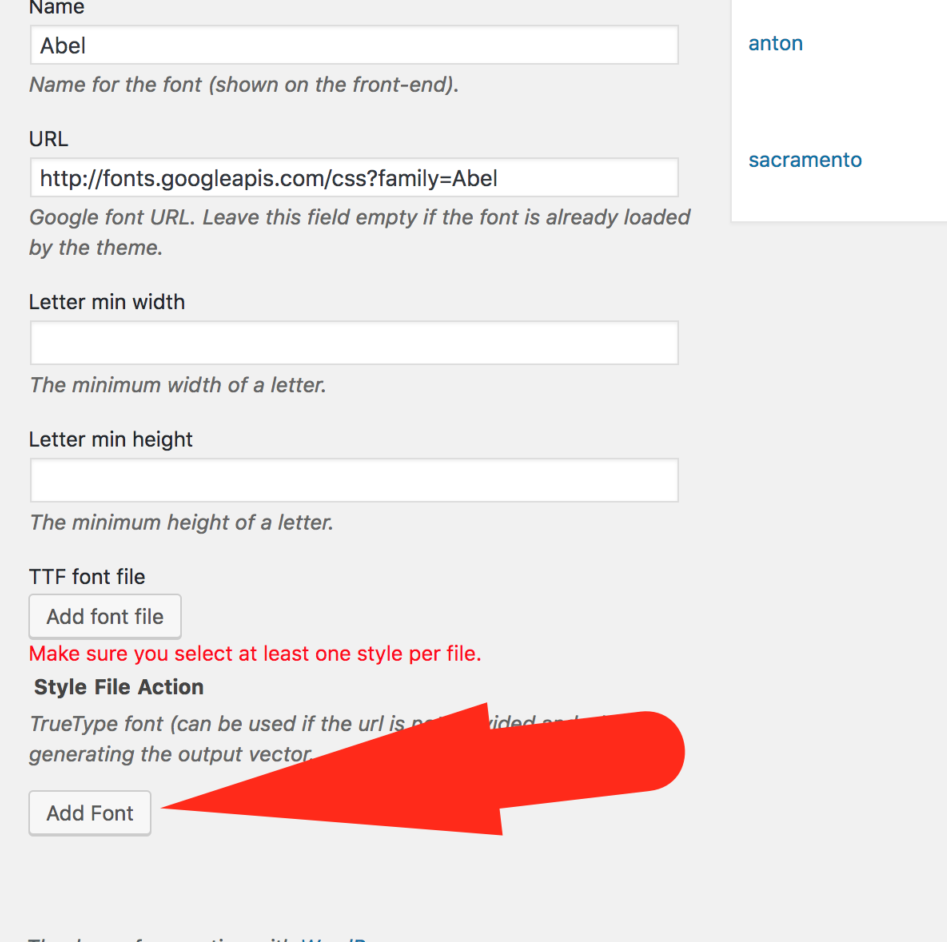
- Click on the fonts dropdown in order to select the one you want. The font’s name and url fields will be automatically populated. You will need to add the min width and min height.
2. Click on the Add Font button to save your newly added font into the product designer.
How to add custom web fonts in Lettering and Signs Designer?
- Enter the font name in the name field.
- Enter the font css file URL in the URL field.
- You’ll need to define the TTF fonts that will need to be used in the output files but we’ll get back to it in the third section of this tutorial.
- Click on the Add Font button to save your newlyadded font into the product designer.
How to add TTF fonts in Lettering and Signs Designer?
Custom TTF fonts are also supported by the custom product designer. In order to add a TTF file:
- Go here https://transfonter.org/ to convert your TTF file to a web ready file. This will make sure your file can be read by any browser.
- Enter the font name in the name field.
- Leave the URL field empty.
- Click on the Add font file button to select the converted TTF file from the step 1 related to the font you’re trying to add using wordpress’s default media uploader.
- Each TTF file contains one or multiple font styles such as italic, bold and other. You need to make sure the TTF font file you just set has all it’s styles properly checked. For example, the ALEO font comes in multiple files such as:
- Regular
- Regular Italic
- Bold
- Bold Italic
While defining the font files, you’ll need to make sure that the “regular” ttf file has only the regular style checked. Then the “Regular Italic” will have both styles checked and so on.
Click on the Add Font button to save your newly added font into the product designer.
Creating fonts is mandatory for the Lettering and Signs Designer to work. After this step, you can now proceed to the selection of the fonts that you want your customers to use in the configuration.
Hola quiero agregar fuentes de dafont pero cuando las utilizo no sale la forma que es, a que se debe esto?