
This tutorial is a step by step guide to teach you how to create a custom product on a woocommerce store using WooCommerce Product Designer plugin.
Table of Contents
How to create a custom product configuration?
A custom product configuration is a set of parameters that can be assigned to one or more woocommerce products which regulates how they work. Assigning a custom product configuration to a normal woocommerce product turns it into a customizable product.
- Click on WPD > Configurations, to access the list of existing configurations.
- Next click on New Configuration to have access to the page on which you can create a new configuration.

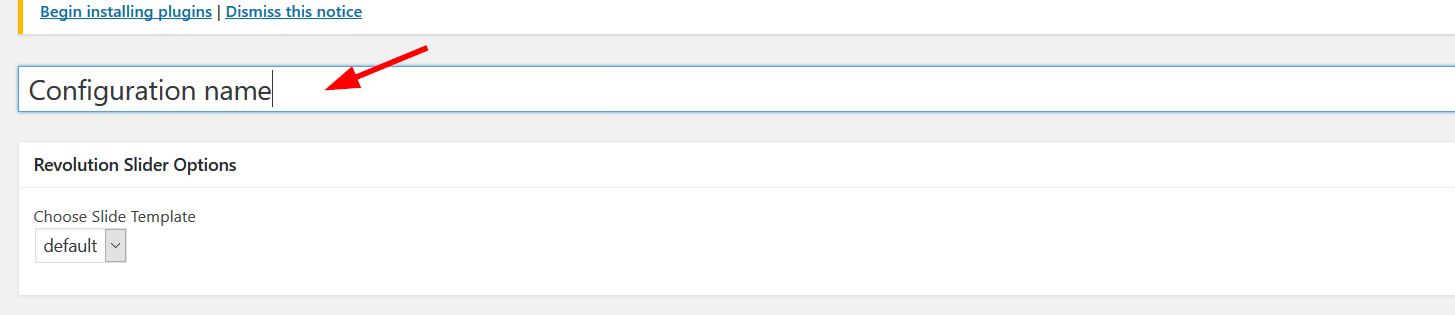
- Under the basic settings section you have the Design from blank feature which can allow you to display or not the button on the product page.

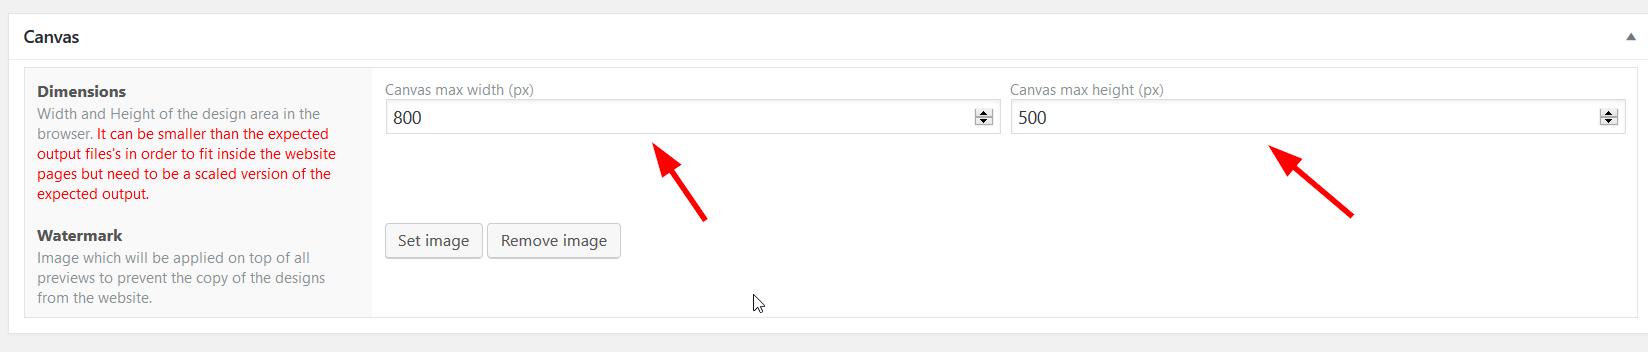
- The canvas section allows you to apply a custom canvas size to your product. The canvas can be smaller than the expected output files in order to fit inside the website pages but need to be a scaled version of the expected output.
- The parts section allows you to define the products parts. Click on the Add parts button to add your parts.
- Name: Name of your part
- Icon: Allows you to define an icon for the parts
- Bg. (not inc.): allows you to define a background image for the parts. This image won’t be included in the final design.
- Bg. (inc.): allows you to define a background image for the parts. This image will be included in the final design.
- Overlay image: allows you to define an overlay image for the parts. This image can be selected to either be included or not in the final design.

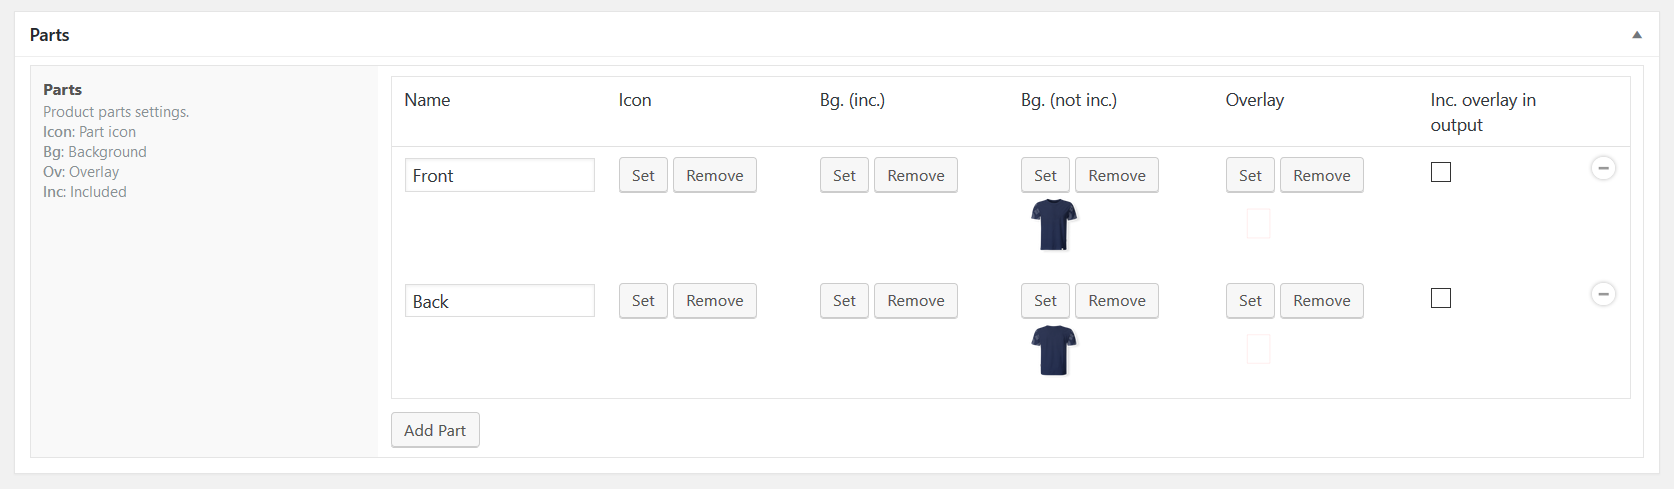
Front part 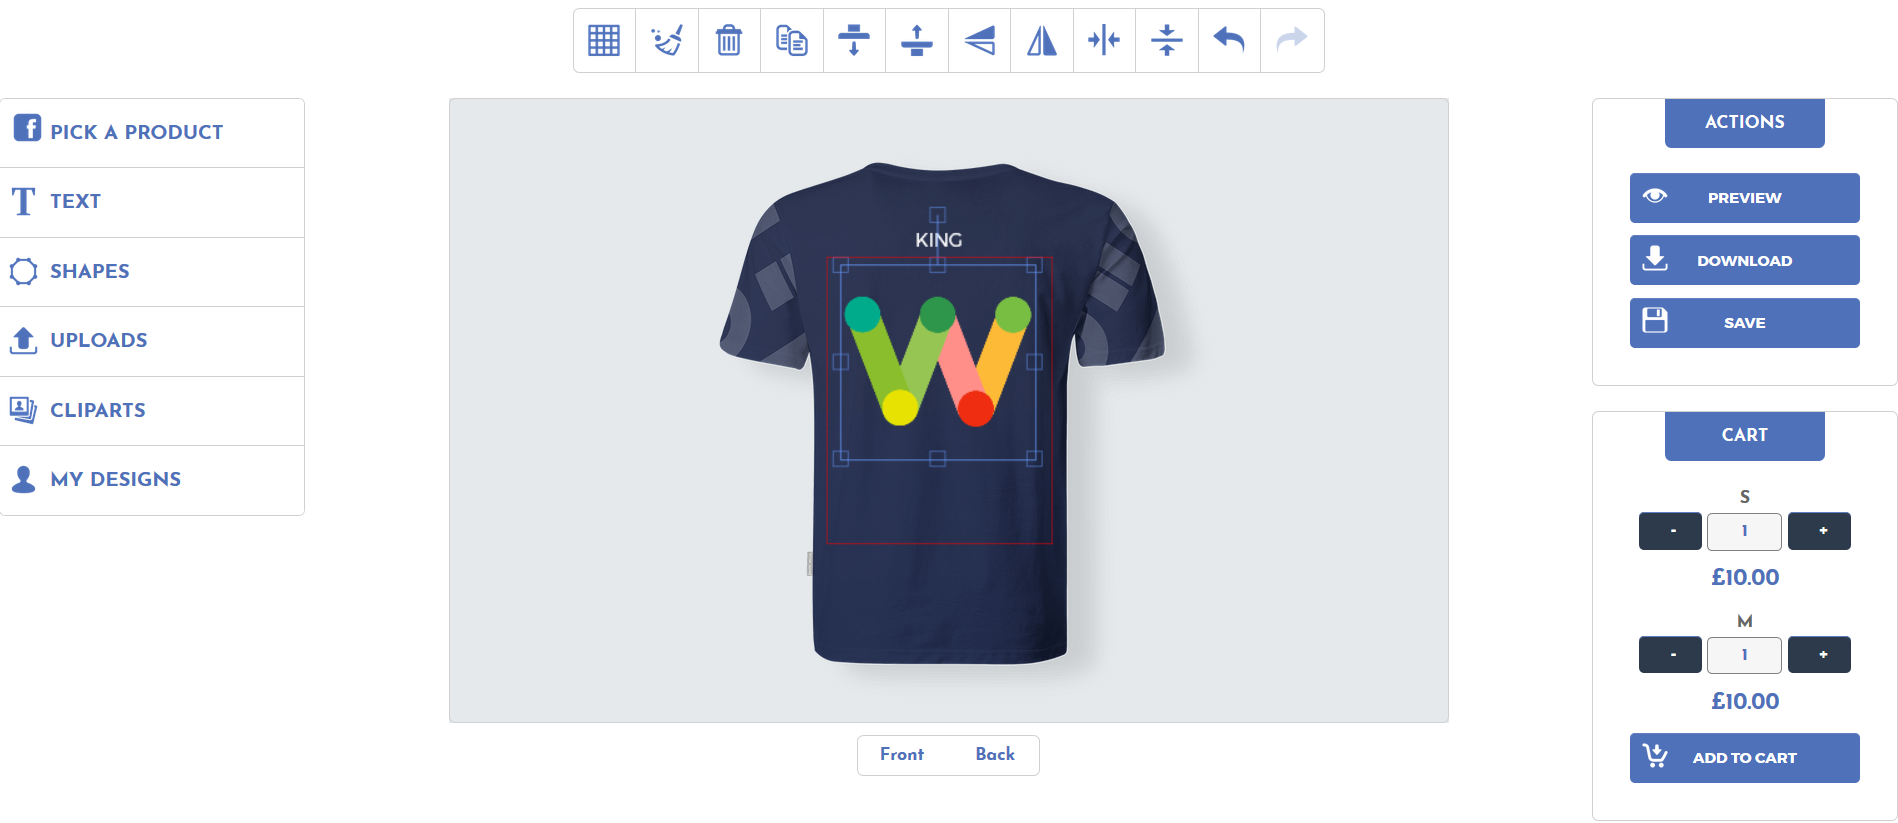
Back part - Click on the Publish button to save your configuration.
How to create a custom woocommerce product?
Once you’ve created a configuration as described in the previous section:
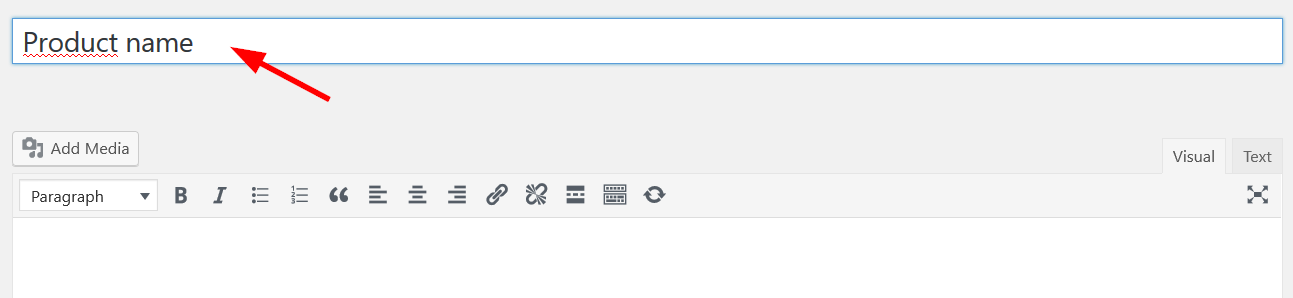
- Click on Products > Add New to access the product creation screen
- Enter your product name

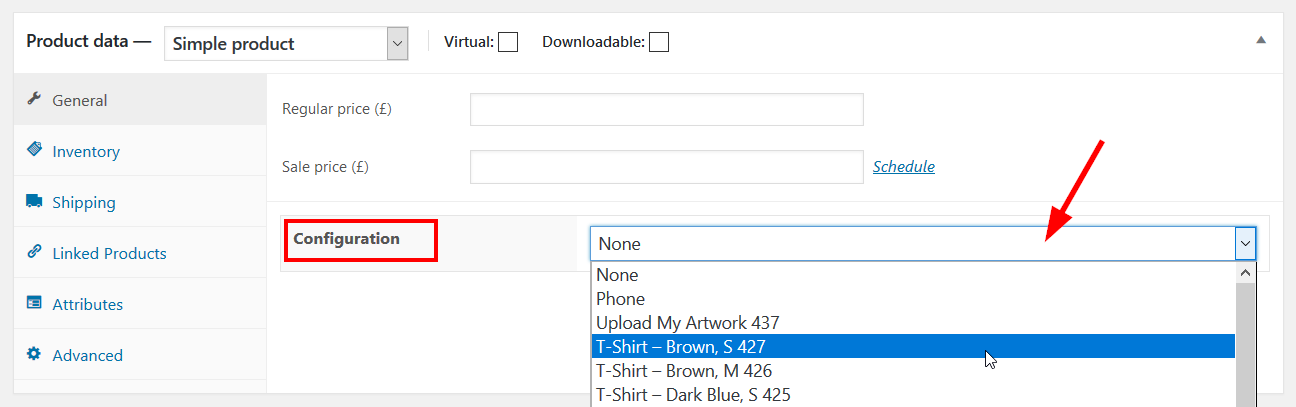
- Select the product type (only simple and variable products are supported at this time).
For simple products:
- Enter product price
- Now select the corresponding configuration previously created
3. Write a short description of the product
4. Finally click on Publish button to save your product
For variable products:
- First of all select “variable product”
- Click on the option “variations”
- Select the variations you want to configure
- Enter “variation price”
- Now select the corresponding configuration previously created.

5. Write a short description of the product
6. Finally click on Publish button to save your product.
How can a customer customize a product?
Once a product has been set as customizable, there are 2 ways for customers to customize it:
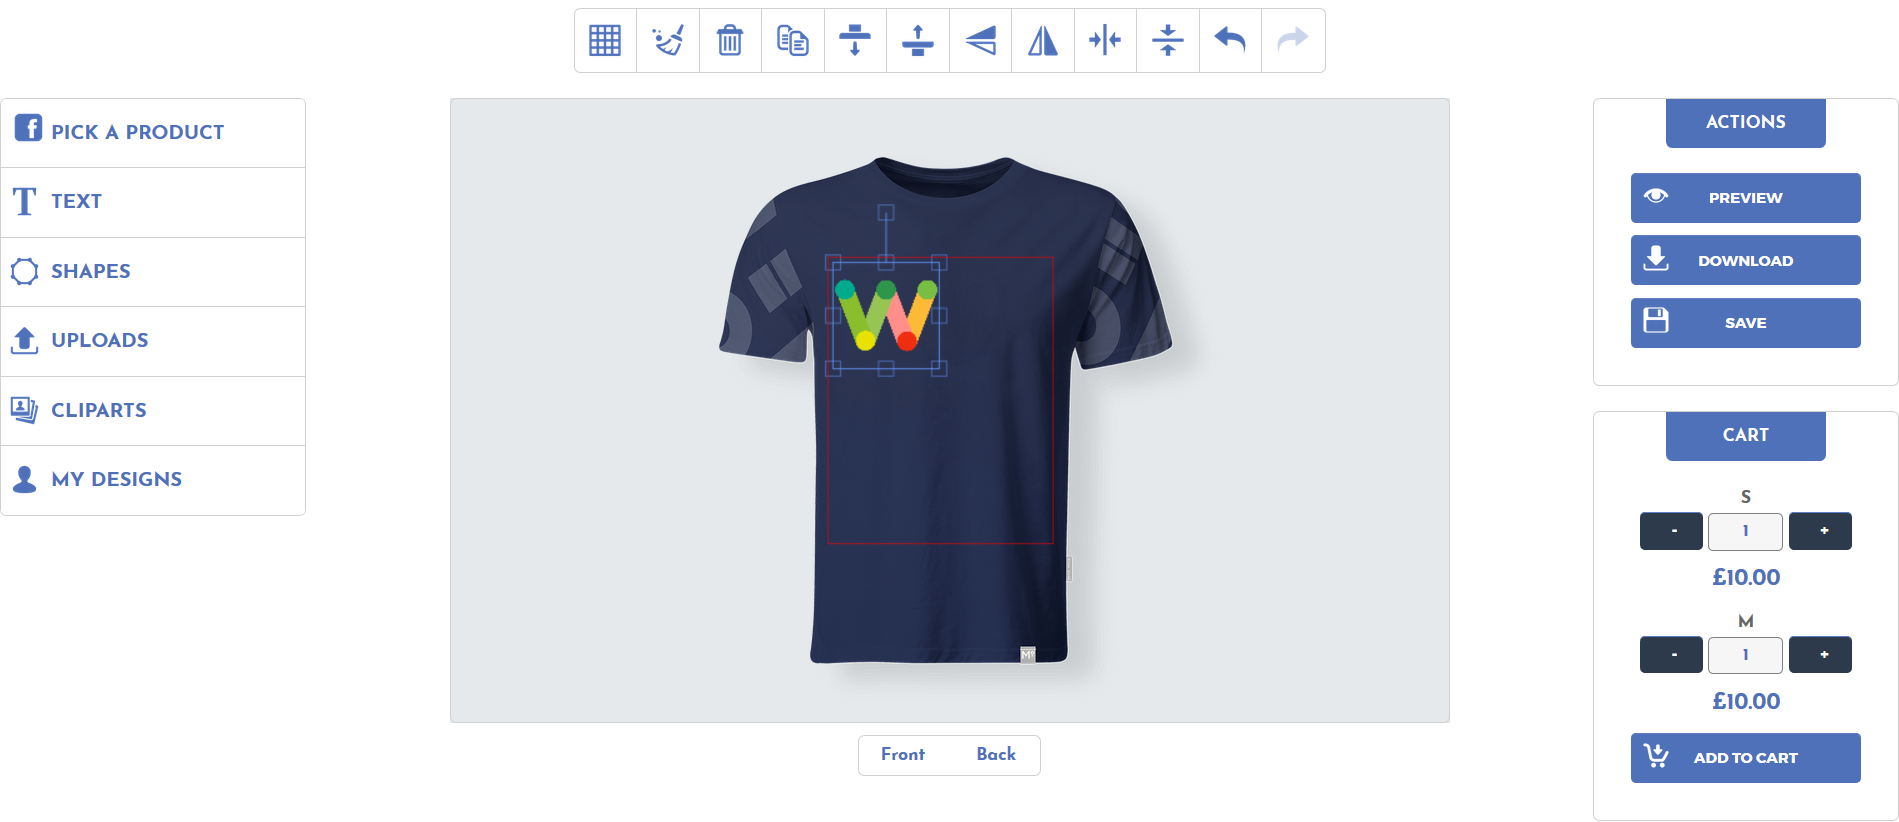
- From the shop page (simple products only): a Design from blank button will appear under the Add to cart button. A click on it will lead the user the editor page with the product data already loaded.
- From the product page: a Design from blank button will appear under the Add to cart button. A click on it will lead the user to the editor page with the product data already loaded. If the product is variable, make sure you select the options before clicking the Design from blank button.
Note: This does not only work for WooCommerce valid themes but also works for themes which do not have any reference to WooCommerce. If the theme the customer is using is a WooCommerce compatible theme or a custom theme, and all hooks are properly triggered, then all buttons will appear.
How can you see the product chosen in the design canvas?
Hello,
What do you mean?
Hey you are the author and doesn’t understand what customers ask, what did you make then?
Hello,
Being the author does not mean we can understand the customers thoughts, and that’s why we’ve asked him to provide more detailled explanations.
best afordable web to print software
congratulations to the team.
im coming back , from a bad experience with MageBay ProDesigner plug.
keep going!
Thank you for your kind words.
If you feel we’ve provided great value or would like to leave us feedback:
=>Review us on Facebook: https://goo.gl/iB7PTx
=>Review us on twitter: https://goo.gl/2P6SYe
Thank you so much for taking the time to provide us feedback and review!
Hi there.
I am looking to to customise various dimensions of card i.e. 675mm x 572mm, how do i set up the configuration to show this?
thanks!
In the output settings section of a configuration, you have the ability to setup the output dimensions you need.
Thank you for your quick reply! Can i set them as mm or is it just px?
For the output, you can select multiple formats. But the canvas dimensions you can only work with px.
What should I do to set up the board in the first place; or what should I set the px to?
Many thanks
Stuart.
Subsafe Audio Ltd.
08447750052
+44 8447750052
enquiries@subsafeaudio.com
http://www.subsafeaudio.com
Please open a ticket at https://orionorigin.freshdesk.com to get someone in the team to look at what you did and help you out.
Ah, found it, very cool! How do I set up the dimensions properly on the design page so that they correspond with the dimensions I am looking for?
How would you use this to hide/show multiple layers that can be customized? For instance, say I have a base shirt that can have a selected color. That same shirt can have a second color as part of it’s design. I’d like the user to be able to choose the two colors independent of each other using this. Is it possible?
Please open a ticket at https://orionorigin.freshdesk.com to get someone in the team to look at what you did and help you out.
Hi,
I produce wine and our costumer can design his own Label.
My Problem is, that the Output Quality is not the best.
How can I scale it up?
many thank’s
lukas
Hello Lukas,
Are you using the free or the premium version?
Hey I’m sorry it works great thank you!
Hello…I need help configuring the bounding box area. What measurement is it using…MM or inches? Let’s say I Have a rectangular business card that is 2×3.5 inch…what would that look like? I thought there were already some presets included with this. I have many print products to add and I am stuck on this section
The bounding box uses pixels… I suggest using an overlay image which has the same dimensions as the canvas that way everything will surely be properly aligned.
Hello. congrats on you plugin. Im just creating a new website where Id like to add customizable products… I was trying your free plugin and customized a T shirt, but I noticed that when i received the order in woocommerce, that the picture I put over the Tshirt didnt download apart the tshirt… but it was downloaded together with the tshirt and the quality was bad.
Is this because this plugin is a free trial? If i upgrade, is this problem solved?
Thanks in advance !!!
Seems to massively hog server CPU resources?
Hello Andrew,
What do you mean?
hola, quiero colocar el area que delimita en los productos pero no me sale en que medida lo debo hacer.
como puedo solucionar esto?
Hi Edwin,
Thank you for your comment, please just start a chat on our site https://designersuiteforwp.com/, and a specialist will help you. Thanks
Do not understand how this plugin works at all been working on it for a month now no luck
Thank you for your comment. Please start a chat on our site explaining what you can’t do, a competent person will answer you.
Is it possible for the admin to choose the available colors at adding text?
Like that the customer can only choose black, white or red text.
Hi,
Yes the admin can set his own color palette like this http://prntscr.com/o3ajn5
Thanks
Once I installed it in my site, it works good but when we download the attachment, it downloads it in low quality.. that can’t be printed.
Hi
Maybe the issue is your configuration. Please start a chat on our site and an expert will help you have the right setting. Thanks
Hi, I´m having an issue, I want my sales representatives to add name and phone in our business cards, so I created the settings with front and back and added BG inc. later I created my product and the button appears but when i click nothing seems to happened.
Hello,
Can you provide the link where it happens so we can take a look?
Hi! I can’t find the “configurations” section to create a new one, why?
Hello,
That’s strange. Are you logged in with a shop manager or admin user profile?
How do you embed a form on product page?
Hello,
What form are you referring to?
I’m getting an error when adding the design to cart every since I updated to version 7.8.1
The following error displays and the design never gets added to cart.
Error that displays:
“A problem occured while adding the product to the cart. Please try again.”
I’m using the Default Template
Hello,
This issue has been fixed in the last version you mentioned.
However, we are preparing a new version which will be ready by the beginning of next week. We will keep you informed.
Also, you can contact our support by initiating a conversation on our site and providing us with a test site so that we can check it for you. Thanks
I’m getting an error when adding the design to cart every since I updated to version 7.9
The following error displays and the design never gets added to cart.
Error that displays:
“A problem occured while adding the product to the cart. Please try again.”
I’m using the Default Template
The unpaid version works fine. But the pro version does not allow me to add to cart or add more than 1 google font
Hello my dear,
We have received and are already working on solving your problem on the support, we will get back to you in the support queue.
Thank you