

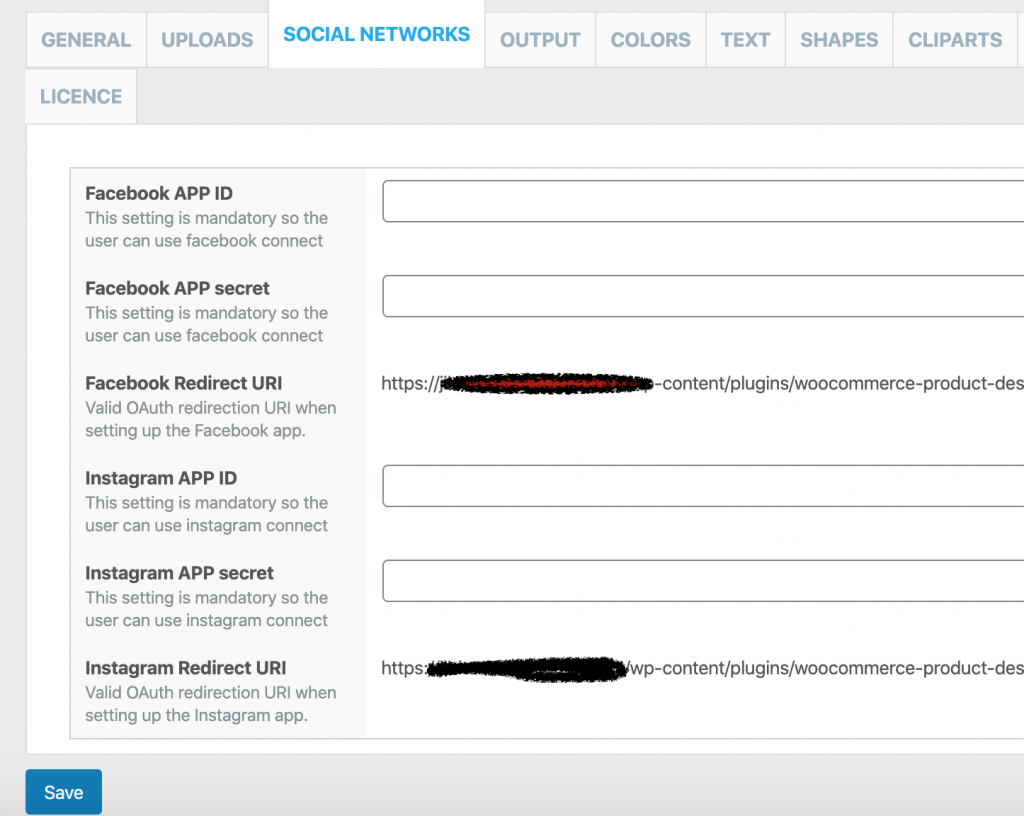
The social networks tab in the Ouidah Product Designer for WooCommerce Settings page allows your clients to use pictures extracted from their favourite networks in their designs.
-
Facebook
- Facebook App ID: These settings are mandatory so the user can connect to Facebook.
-
Facebook App Secrets: These settings are mandatory so the user can connect to Facebook
- Extraction from Facebook
- Go to https://developers.facebook.com/apps and create a new application by clicking “Create New App”.
- Fill out any required fields such as the application name and description.
- Once you have registered, copy and paste the created application credentials (App ID and Secret) in the corresponding fields in the plugin social networks settings.
- Make sure you use http://yoursite.com/wp-content/plugins/woocommerce-product-designer//includes/hybridauth/?hauth.done=Facebook as Valid OAuth Redirect URI in the application settings
Note: Replace “yoursite.com” with your website root URL. To learn more about the Facebook app creation, please visit https://developers.facebook.com/docs/games/appcenter/tutorial?locale=fr_FRe Note: The required permissions needed for Facebook picture extraction are… Email, Public_Profile, User_Friends, User_Photos.
- Extraction from Facebook
-
Instagram
- Instagram App ID: These settings are mandatory so the user can connect to Instagram.
- Instagram App Secret: These settings are mandatory so the user can connect to Instagram.
- Extraction from Instagram
- Go to instagram.com/developer/clients/manage/ and create a new application (Register new Client).
- Fill out any required fields such as the application name and description.
- Make sure you use http://yoursite.com/wp-content/plugins/woocommerce-product-designer//includes/hybridauth/?hauth.done=Instagram as Valid OAuth Redirect URI in the application settings
Note: Replace “yoursite.com” with your website root URL. Once you have registered, copy and paste the created application credentials (client ID and Secret) in the corresponding fields in the plugin social networks settings. Note: If these steps are not followed in setting up the connection to the specific social network, the icons will be disabled.
- Extraction from Instagram