
This tutorial is a step by step guide to teach you how to create a custom product on a woocommerce store using Ouidah WooCommerce Product Designer plugin.
Table of Contents
How to create a custom product configuration?
A custom product configuration is a set of parameters that can be assigned to one or more woocommerce products which regulates how they work. Assigning a custom product configuration to a normal woocommerce product turns it into a customizable product.
- Click on WPD > Configurations, to access the list of existing configurations.
- Next click on New Configuration to have access to the page on which you can create a new configuration.

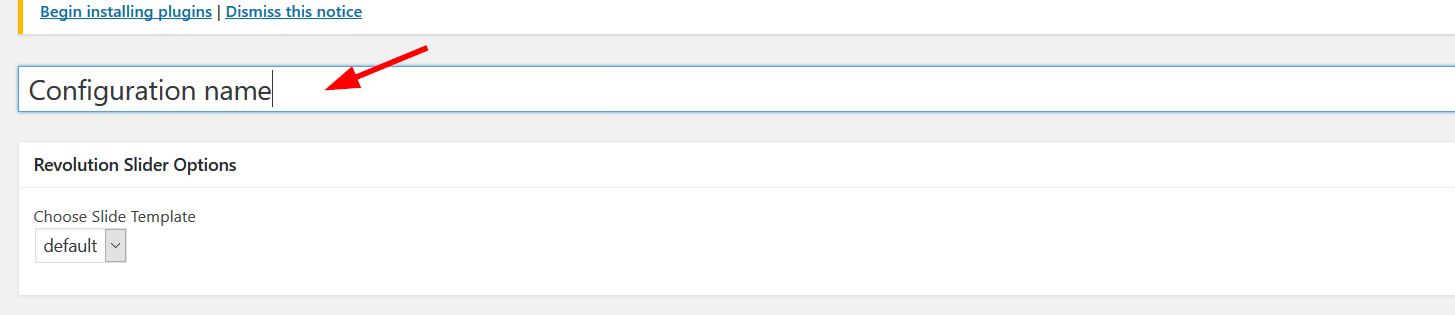
- Under the basic settings section you have the Design from blank feature which can allow you to display or not the button on the product page.

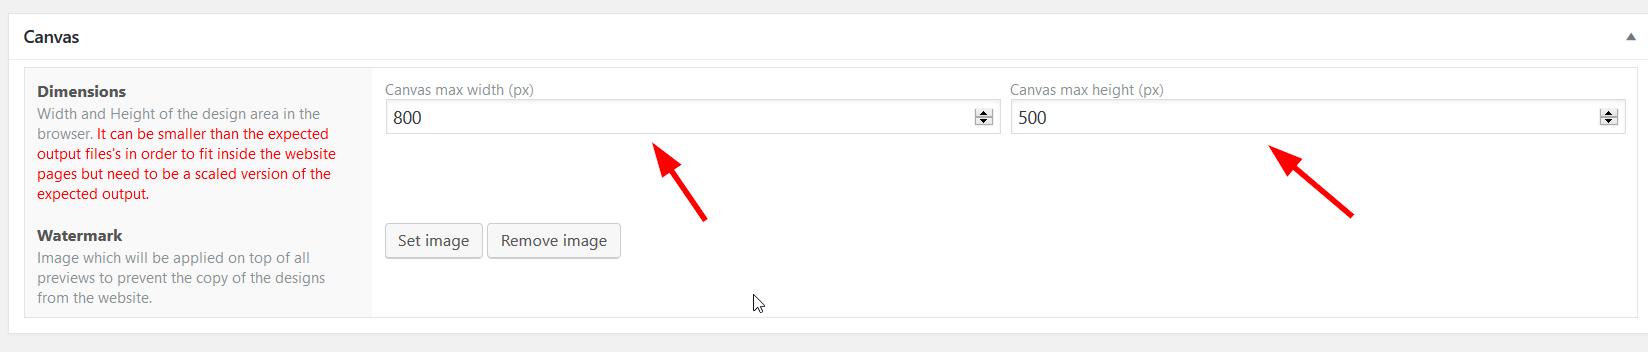
- The canvas section allows you to apply a custom canvas size to your product. The canvas can be smaller than the expected output files in order to fit inside the website pages but need to be a scaled version of the expected output.
- The parts section allows you to define the products parts. Click on the Add parts button to add your parts.
- Name: Name of your part
- Icon: Allows you to define an icon for the parts
- Bg. (not inc.): allows you to define a background image for the parts. This image won’t be included in the final design.
- Bg. (inc.): allows you to define a background image for the parts. This image will be included in the final design.
- Overlay image: allows you to define an overlay image for the parts. This image can be selected to either be included or not in the final design.

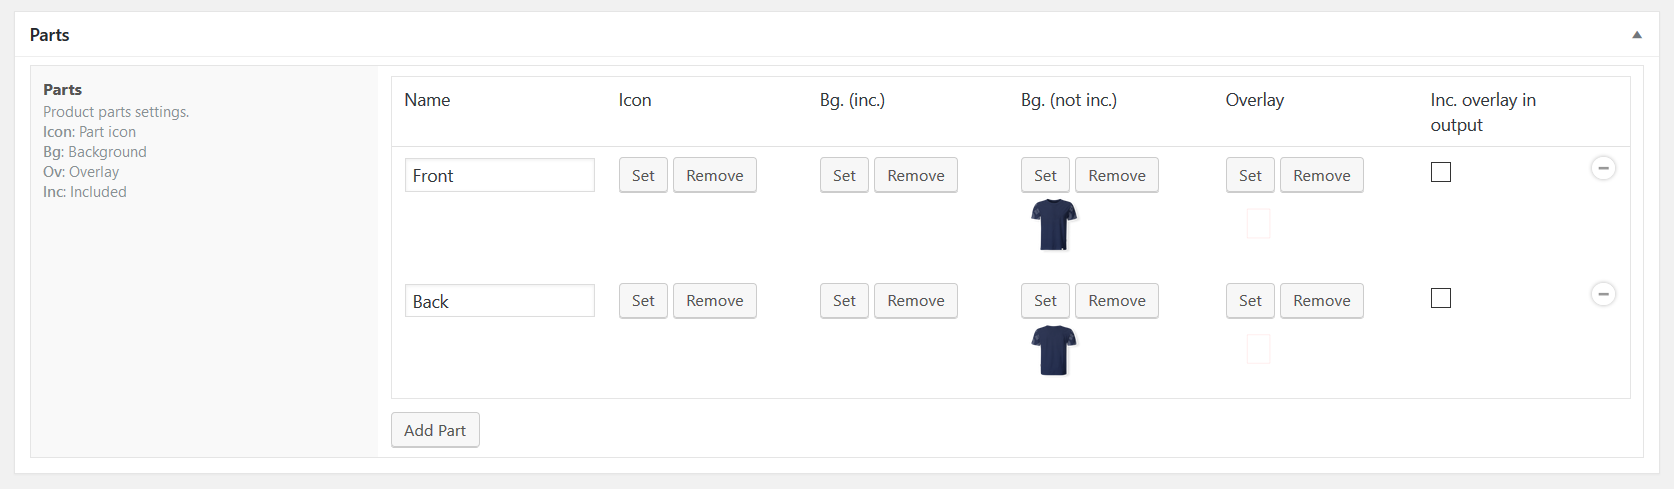
Front part 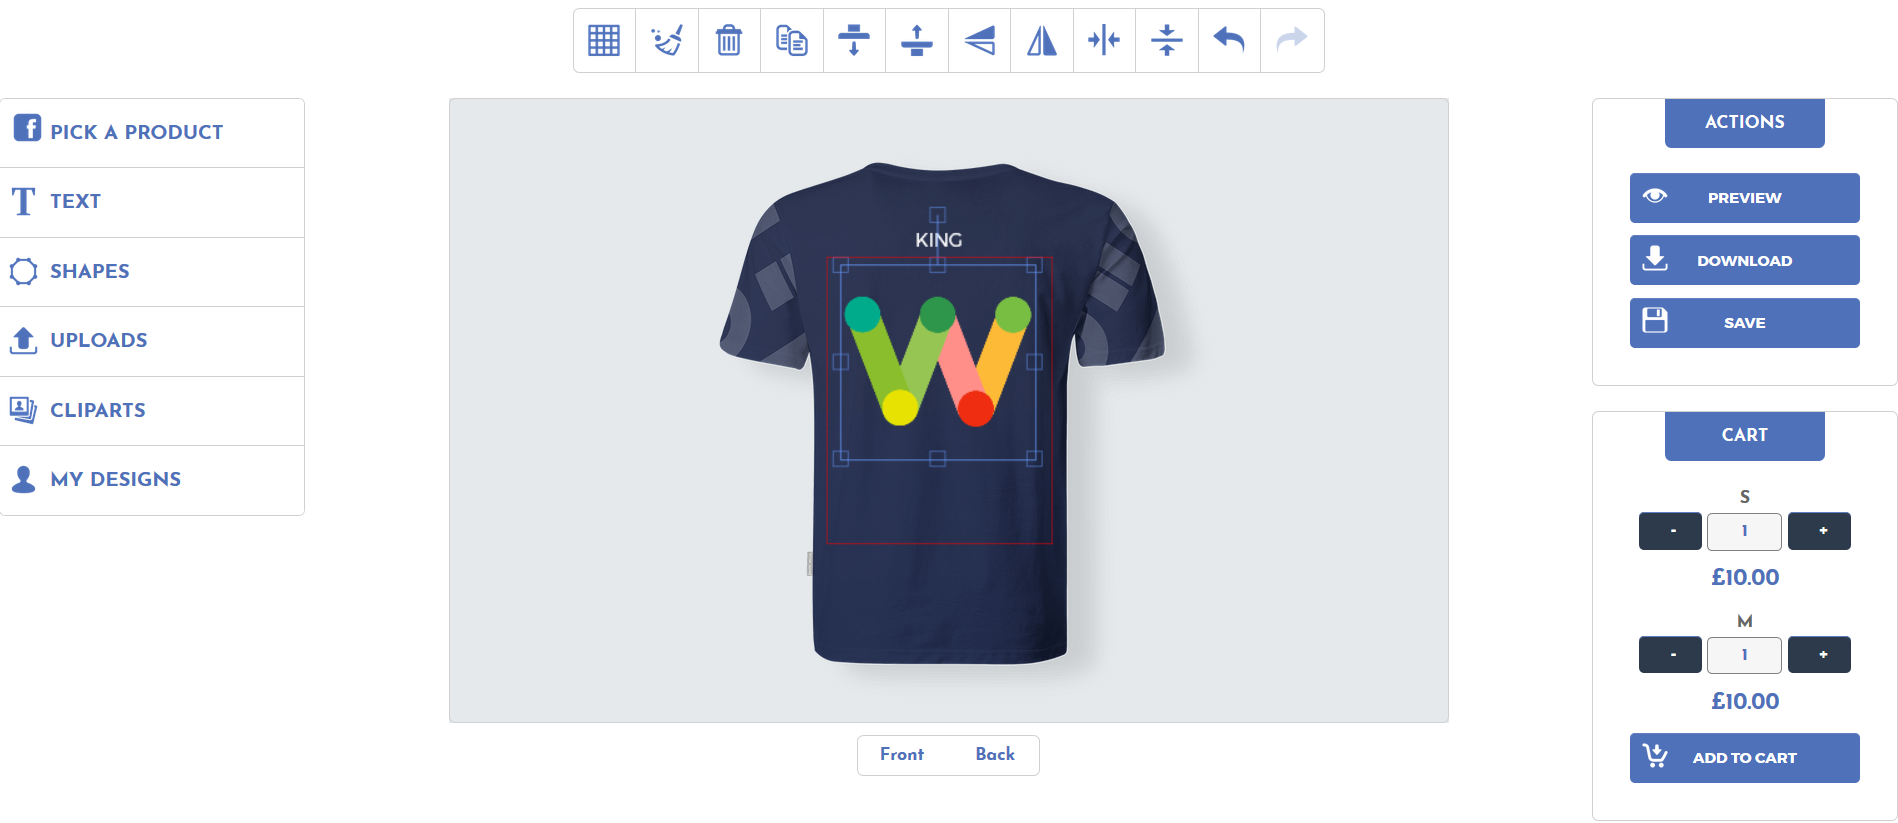
Back part - Click on the Publish button to save your configuration.
How to create a custom woocommerce product?
Once you’ve created a configuration as described in the previous section:
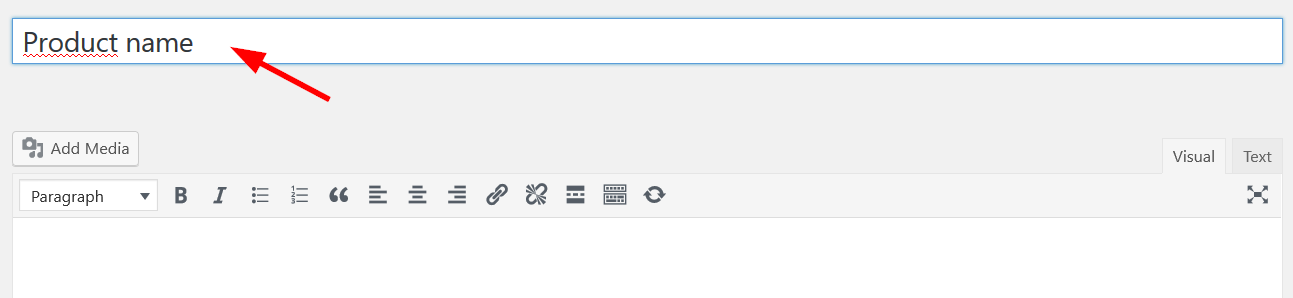
- Click on Products > Add New to access the product creation screen
- Enter your product name

- Select the product type (only simple and variable products are supported at this time).
For variable products:
- First of all select “variable product”
- Click on the option “variations”
- Select the variations you want to configure
- Enter “variation price”
- Now select the corresponding configuration previously created.

5. Write a short description of the product
6. Finally click on Publish button to save your product.
How can a customer customize a product?
Once a product has been set as customizable, there are 2 ways for customers to customize it:
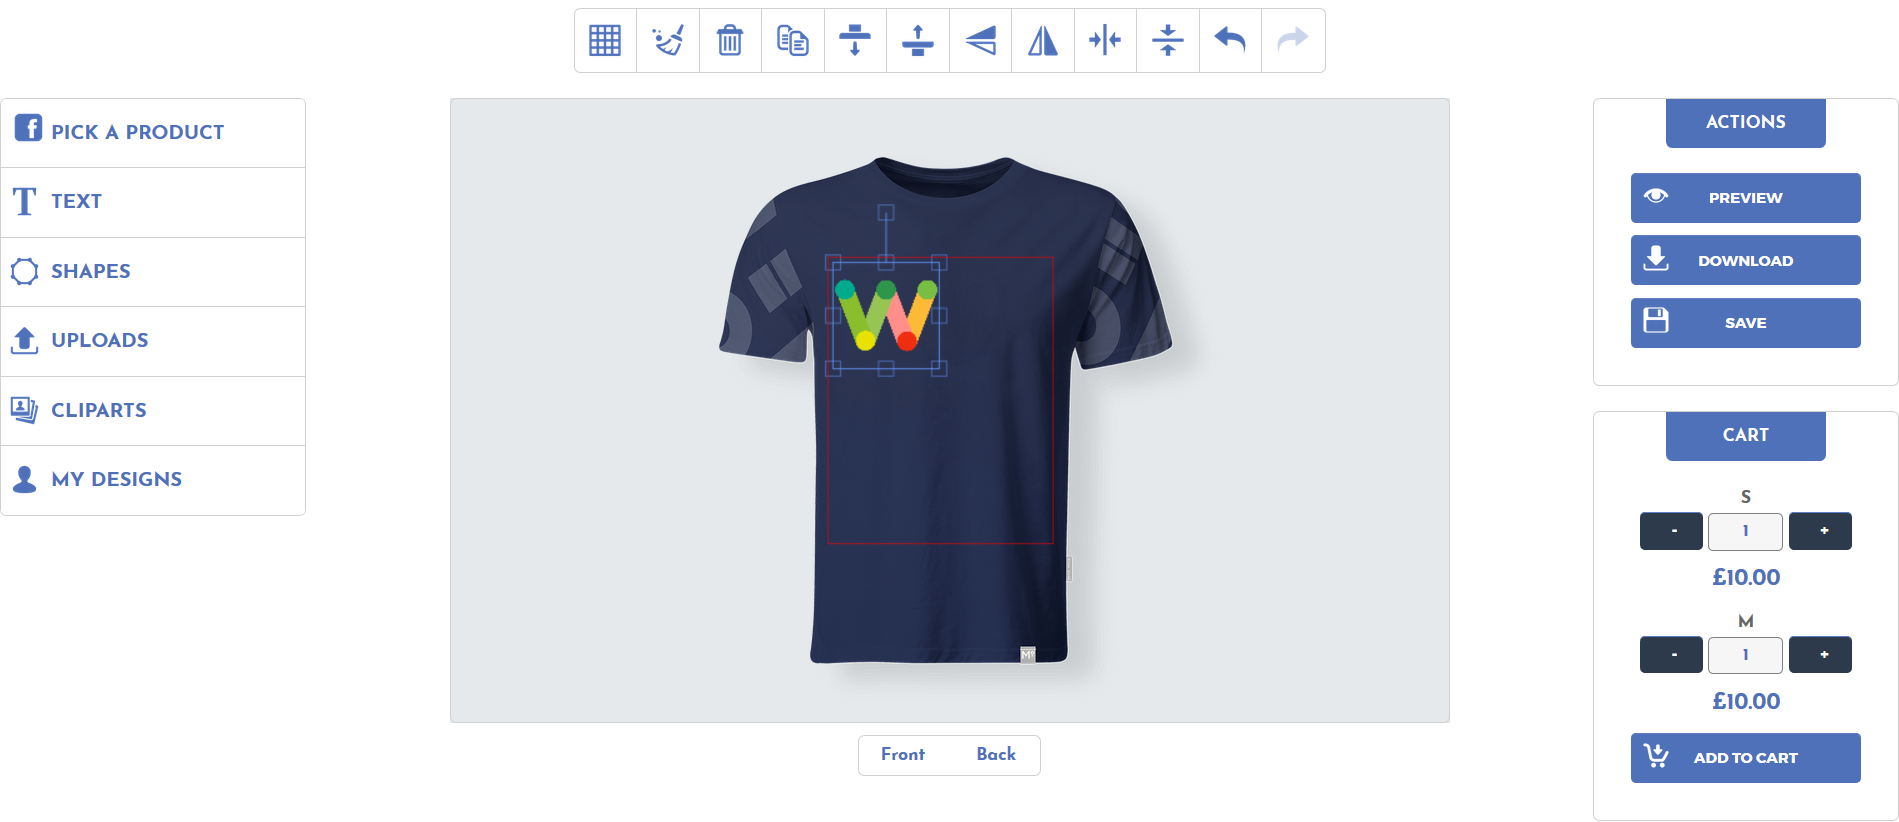
- From the shop page (simple products only): a Design from blank button will appear under the Add to cart button. A click on it will lead the user the editor page with the product data already loaded.
- From the product page: a Design from blank button will appear under the Add to cart button. A click on it will lead the user to the editor page with the product data already loaded. If the product is variable, make sure you select the options before clicking the Design from blank button.
Note: This does not only work for WooCommerce valid themes but also works for themes which do not have any reference to WooCommerce. If the theme the customer is using is a WooCommerce compatible theme or a custom theme, and all hooks are properly triggered, then all buttons will appear.